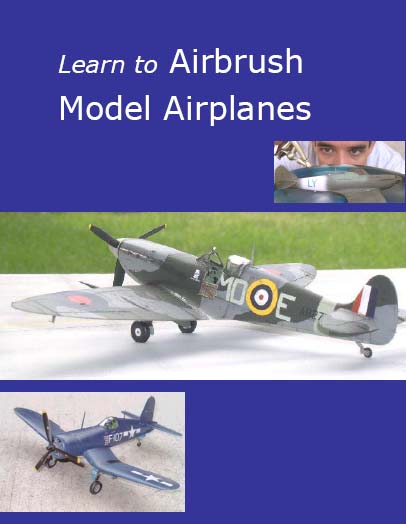
Preparation
Workspace
Many an airplane model has been built on a kitchen or dining table. This is a good work space if you can get it. However it's unlikely that you will finish the model in a single sitting; there is also the ever-present threat of paint or glue spillage. If you can, find a space in a spare room or basement. An old but sturdy table is best. Lighting should be adequate (a lamp with a built-in magnifier is a nice luxury). There should also be good ventilation.
Washing parts
The injection molding process that made your kit uses a "mold release agent" to help the parts un-stick from the molds. This material will prevent paint from sticking perfectly to the plastic. So the first order of business is to wash the parts. The sprues full of parts can be placed one by one in a baking pan full of soapy water. Gently rub the larger pieces with your fingers. Rinse and air dry on paper towels. We like to use a blow drier to get rid of more stubborn droplets, in order to prevent water stains.

Note that oils from your fingers can also affect the paint. After basic construction, we wash the whole model again with soap and water before painting. We also prefer to wear disposable gloves during the paint process, to prevent the odd fingerprint here and there.
Removing parts
If you built one of these models as a kid, you probably ripped open the box and started twisting the airplane parts to get them off the sprues. This method can work OK, sometimes. Other times, parts with multiple attachment points will get distorted, or a piece of plastic from the part itself will get ripped off. To prevent this, using the hobby knife to gently score next to the part. Several passes followed by gentle hand pressure should be enough to remove it. For really thick attachment points, you can use a razor saw (by X-acto) or cutting pliers. There are also specialty tools available known as sprue cutters.
You may also need to "clean up" the parts, not in the sense of washing them, but in the sense of repairing molding defects. "Flash" refers to excess thin plastic that gets squeezed out of the mold. This can be removed with the hobby knife. There are sometimes "sink marks", small circular holes that help the molding process. These are usually placed in out of the way areas, if not they must be filled-in. Also look out for random writing on the surface, see below.
Below top: Arrows indicate excessive flash on this Monogram Spitfire.
Below bottom: We're pretty sure that the real Spitfire was not copyrighted by RV-MM Inc 1994. Remove this mark from the wing underside with sandpaper.


Storing parts
Parts can be kept on the sprues until needed. You can place the sprues back in the box, with paper towels separating them to prevent scratches.
Sometimes a bunch of smaller parts are taken off to be painted with the same color, but are not used right away. It's best to store these parts (after drying) in zip-loc bags or similar safe containers.
Decal sheets also benefit from storage in zip-loc bags, especially if they are to remain un-used for a long time.
You should be able to fit everything back into most model's original boxes, if you need to take a break, change workspaces, or move house (yes, it happens).
Instructions
Last but not least, read the instructions carefully. Understand the building sequence, and locate the major parts in the box. Make notes on the instructions if there is something to pay special attention to, or if you plan to deviate somewhat from the instructions. Make a list of the recommended paint colors that you need to purchase.
Send us your comments below! Login with your Facebook, Twitter, Google or Yahoo account.